As part of my little series on “behind the shot” posts, I’d like to showcase today the power of “focus stacking”! Here as example an olive tree sprout. In macro photography the depth of field is usually very short. Chosing a small aperture leads to long exposure and/or high ISO both negatively impacting the sharpness of the shot. So how to solve this dilemma?
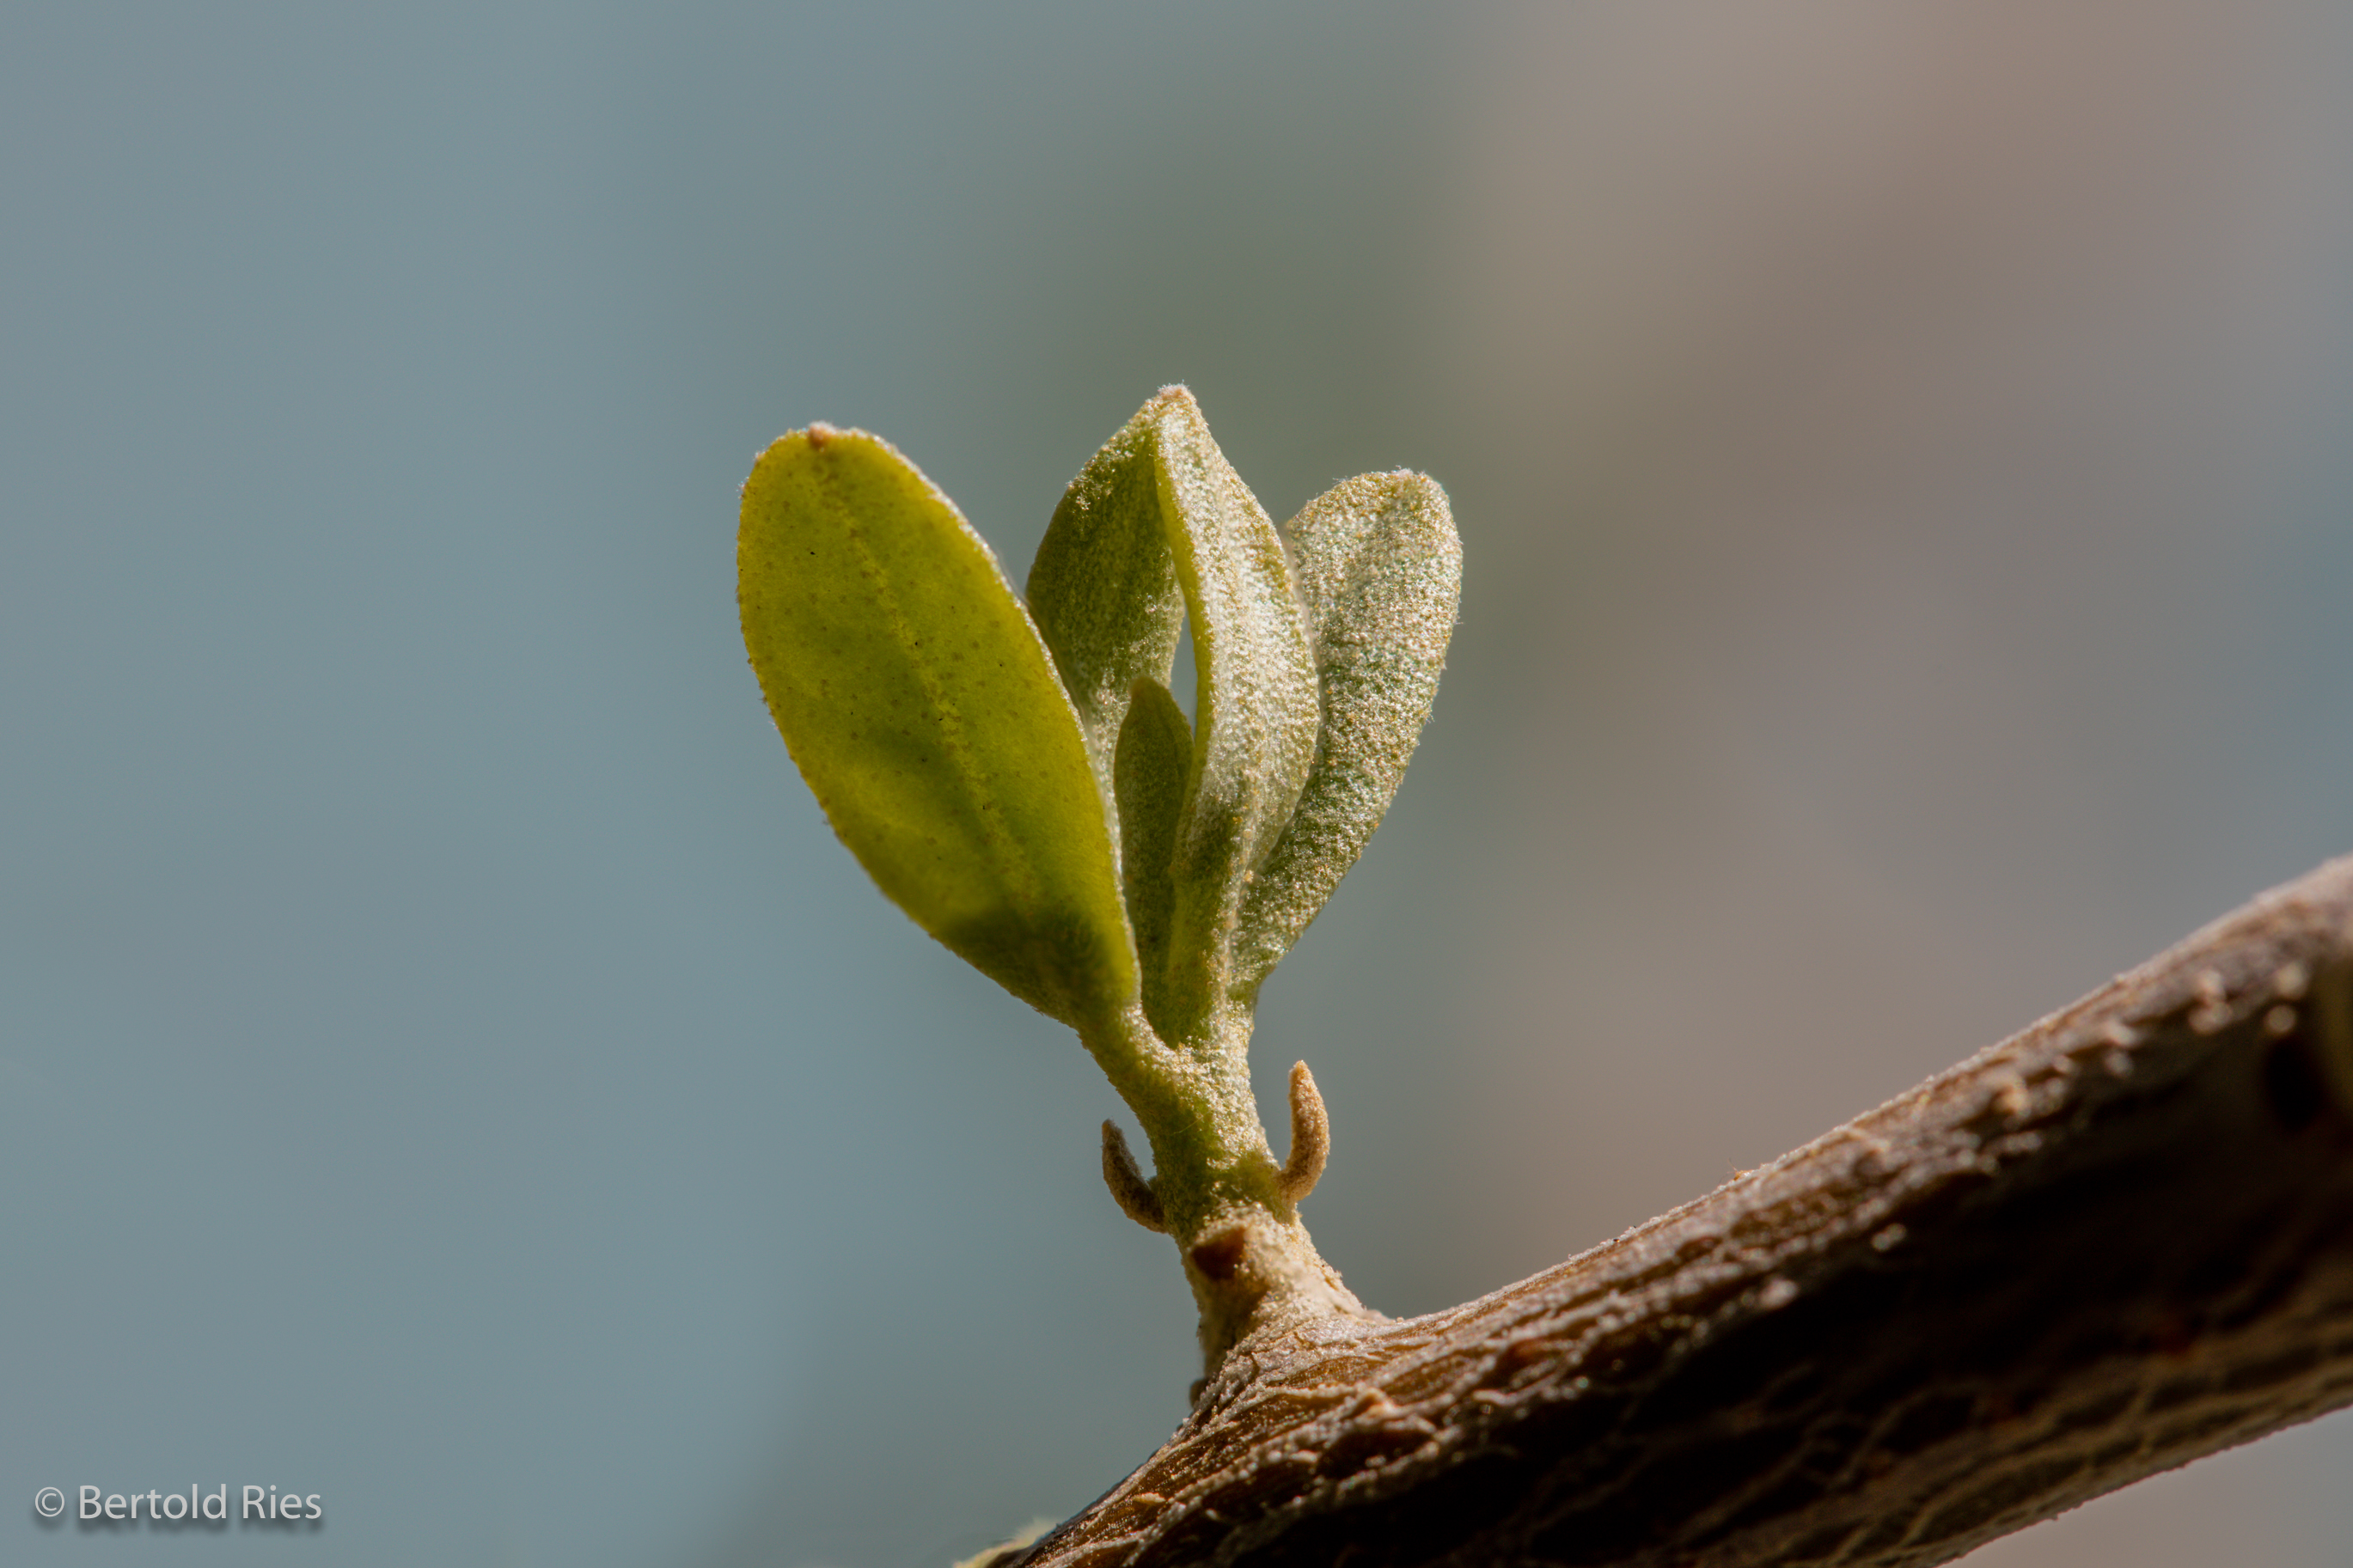
Below on the left you can see a standard marco shot taken with a 1/50 sec. with f/22 and ISO 400. The lens was a Canon EF 100 mm f/2.8 Macro USM. Despite the small aperture the leaf in the background misses sharpness. On the right is a focus stacked picture showing sharpness from front to back.
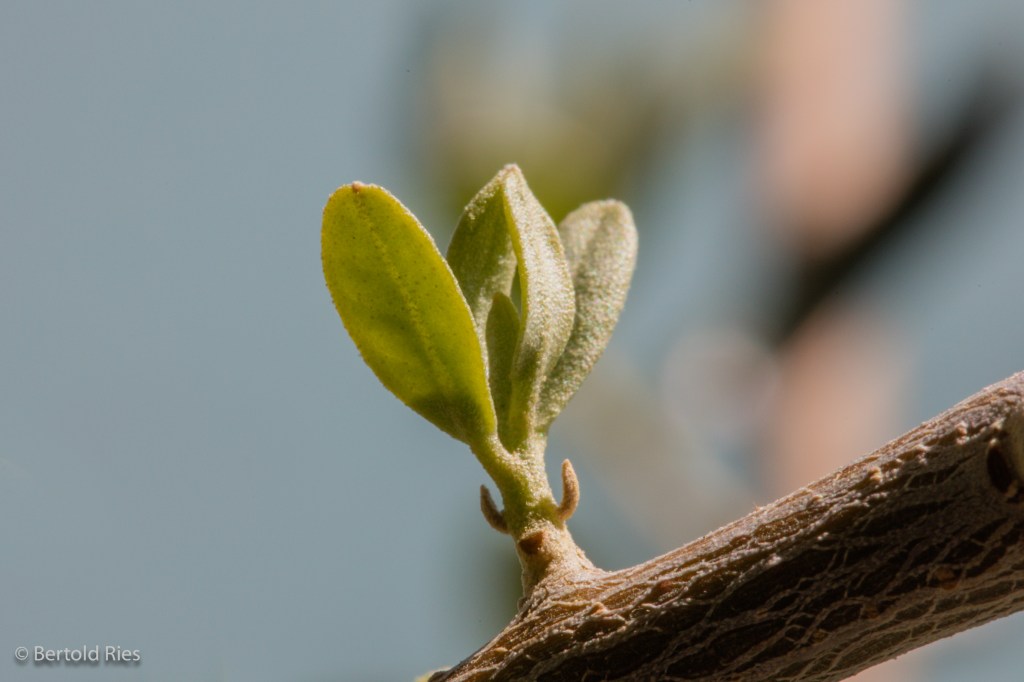

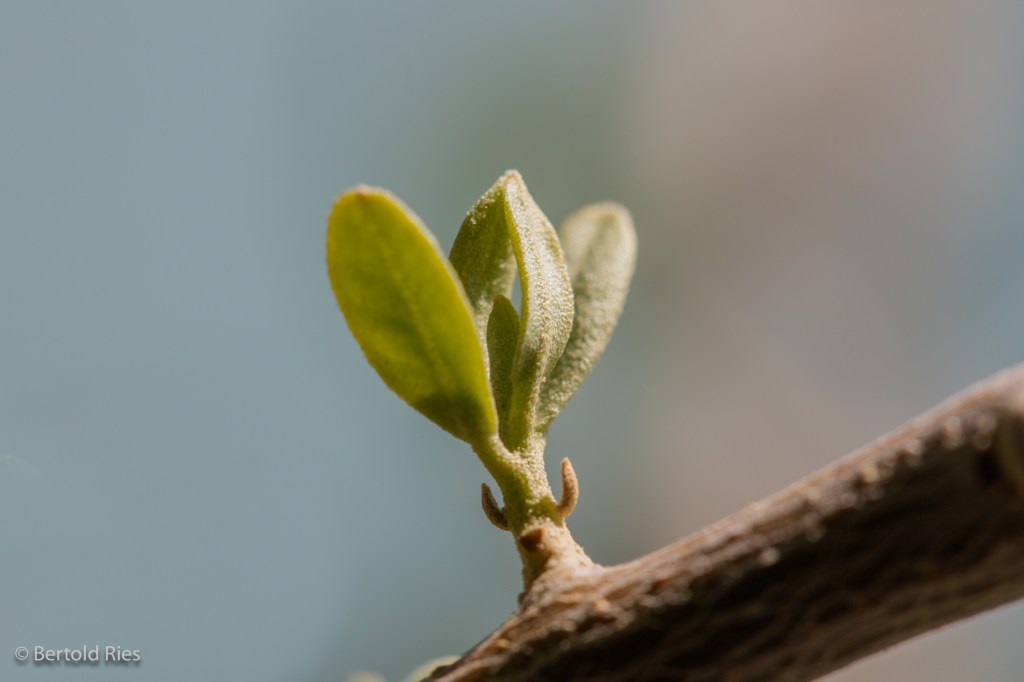
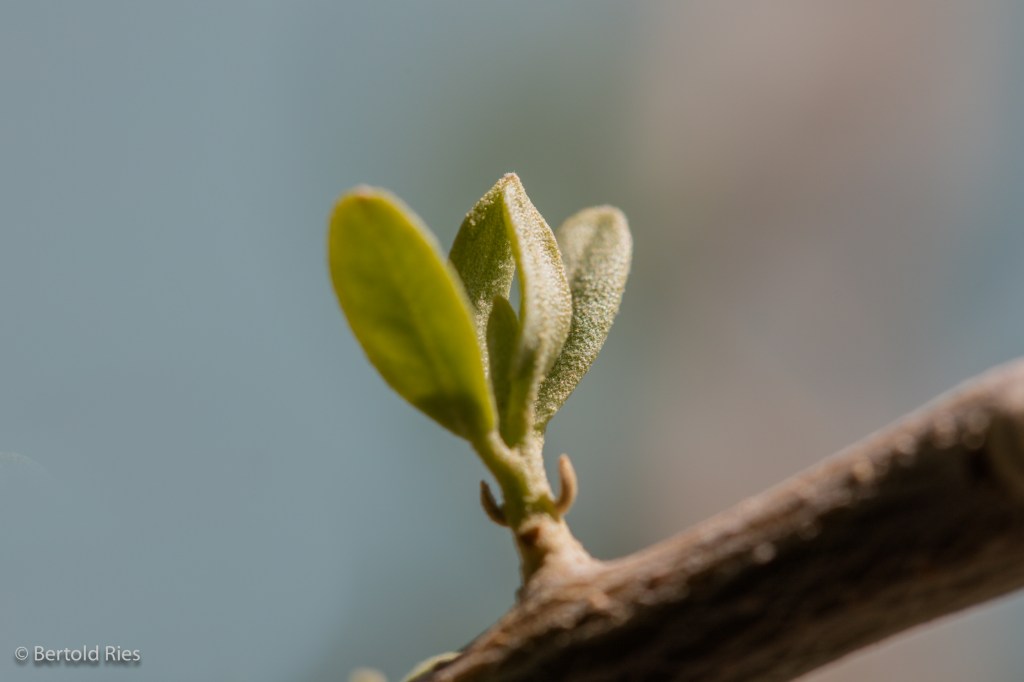
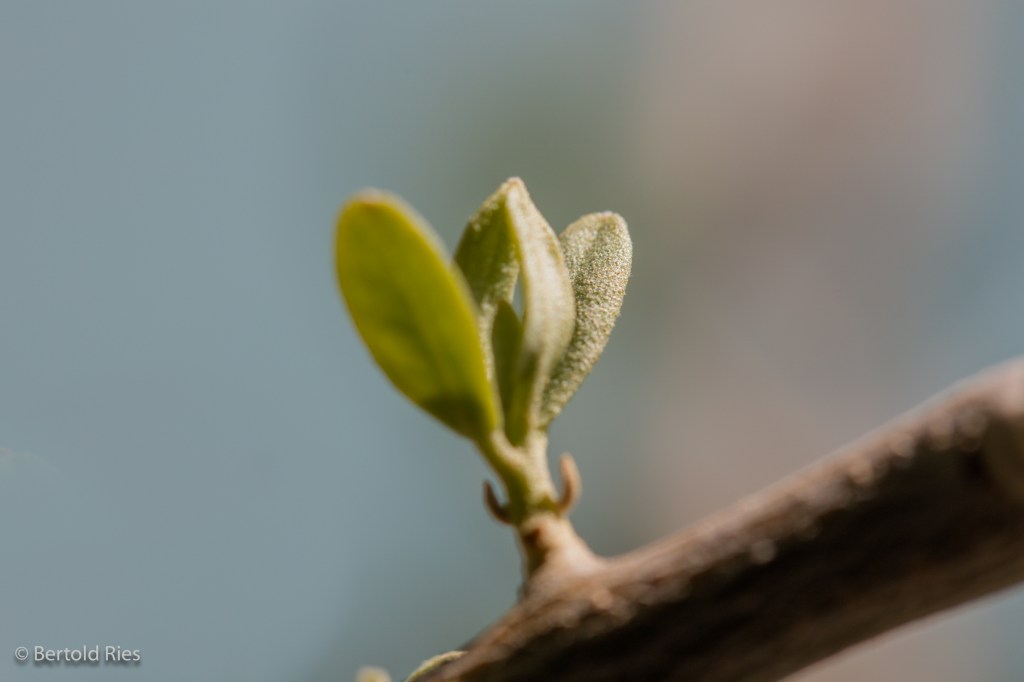
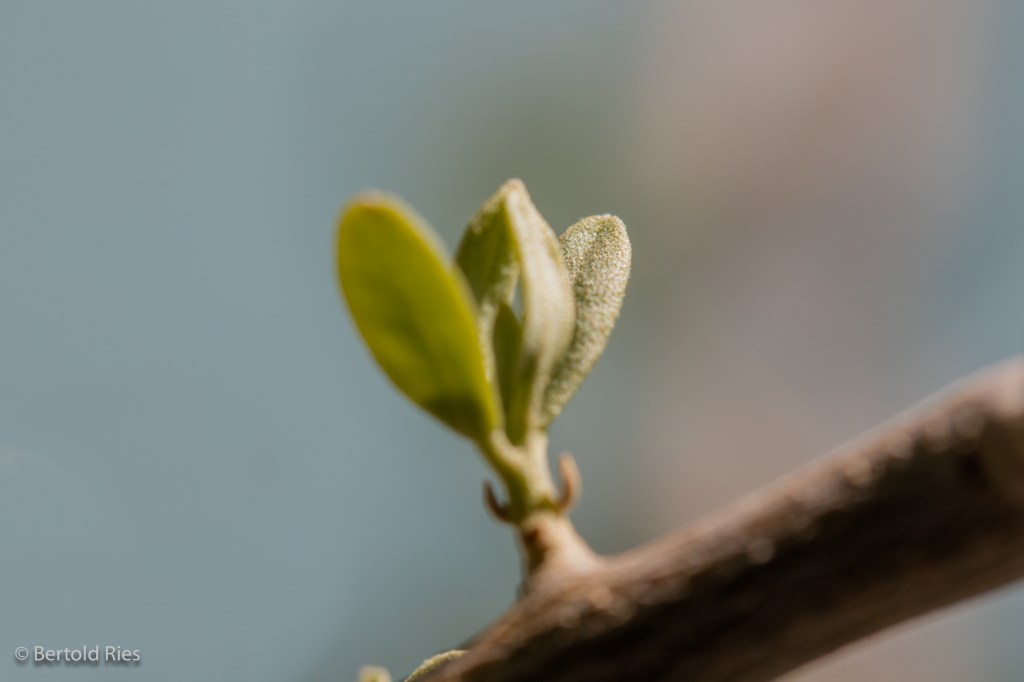
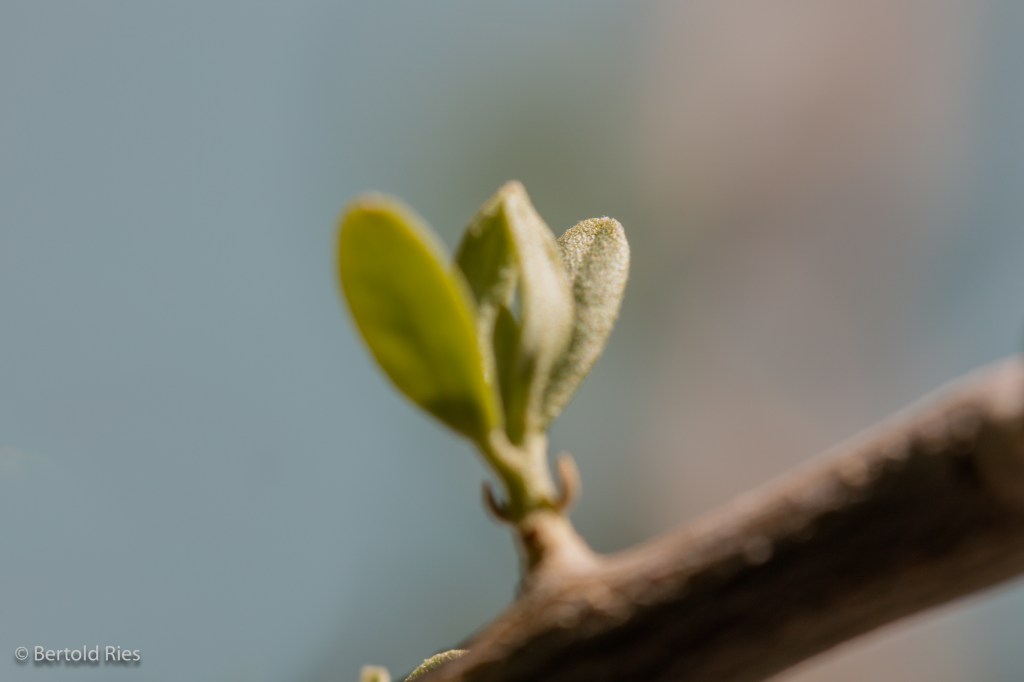
How does that work: I took the 10 shots below, moving the focus for each shot manually a little more towards the background. All shots are 1/100 sec, f/6.3, ISO 100. So the level of focus moves from front to back through the 10 pictures.


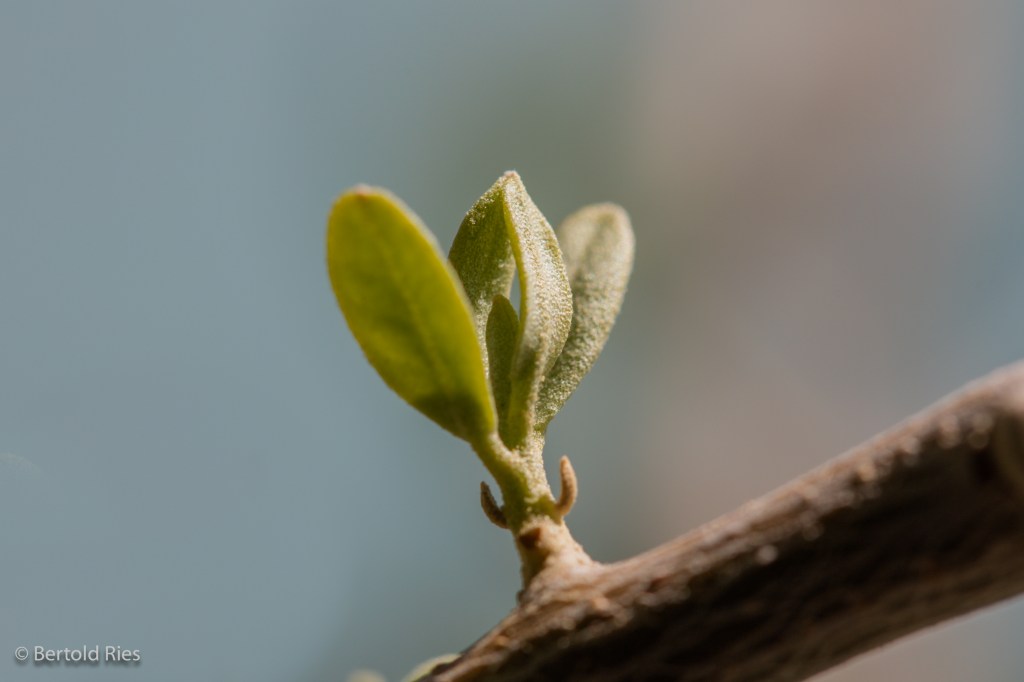

Then you need a software for focus stacking. I used HeliconFocus Pro version 6.4.1. Basically the software adds the sharp parts of the 10 shots together and creates a new super sharp shot.
Voilà!

5 responses to “Behind the Shot – Focus Stacking”
This is a grreat blog
LikeLike
[…] More about focus stacking you can find here. […]
LikeLike
[…] is composed of seven individual pictures with varying focus points. This method is called “focus stacking” I described it in one of my previous […]
LikeLike
[…] below shot of the mating wheel is created through focus stacking of 4 pictures to capture the depth of […]
LikeLike
[…] This shot of a good 5mm in size spider alive and in it’s web was taken with a 1/10 sec., f/3.2 and ISO 100 by a Canon EF 100 f/2.8L Macro IS USM on a EOS 5DSR body using a tripod. To increase depth of field this shot is a blend from two shots using focus stacking. […]
LikeLike